TL;DR: I evolved a simple ESP32 Wake-on-LAN script into a secure, Telegram-controlled home network monitor using n8n, MQTT TLS, and UDP-to-ARP discovery.
What started as a simple Wake-on-LAN (WOL) script eventually turned into a zero-trust network gateway. I needed a way to scan my home network and wake up my PC without exposing local services to the internet or logging into clunky MQTT clients. The instinct for most developers is to build a custom web dashboard. I did not want to deal with reverse proxy vulnerabilities or open ports.
Instead, I built an edge-to-server microservice using an ESP32 and n8n.
The Brain and Interface Architecture
I split the system into three distinct parts to keep the network heavily secured behind my phone’s biometrics and Telegram’s authentication:
- The Muscle (ESP32): An inexpensive $4 (~₱230) microcontroller sits on the local network (
192.168.x.x). It acts as a secure bridge to HiveMQ Cloud via MQTT over TLS. It does zero complex thinking. It just executes physical network tasks. - The Brain (n8n): Running on my home server, n8n handles all the high-level reasoning, state management, API throttling, and data parsing.
- The Invisible UI (Telegram): Everything routes through a Telegram bot. There is no web app and there are no open ports.
Implementation: The UDP-to-ARP Hack
My first scanning strategy was a simple Ping.ping() loop. I hit a silent wall immediately. Most modern devices, like Windows PCs, iPhones, and smart TVs, block ICMP (Ping) requests by default. To make matters worse, phones in standby ignore unsolicited UDP packets to save battery. The ESP32 would scan all 254 IPs and find nothing.
I realized that even if a device blocks a Ping, the router still needs to know where that device is at a hardware level .
- The ESP32 sends a tiny, single-byte UDP packet to port 9 (the WOL port) of every IP.
- The device ignores the packet, but for the ESP32 to even send it, it must first ask the network: “Who has this IP? Send me your MAC!”
- This populates the ESP32’s internal ARP Table.
- I then peek into the LwIP (Lightweight IP) ARP cache to extract the MAC address.
This two-pass architecture, a fast UDP sweep followed by an ICMP fallback for stubborn IPs, transformed the scanner from a polite asker to a network observer.
// Sweep 1: Send a dummy UDP packet to trigger an ARP resolution
WiFiUDP udp;
for (int i = 1; i < 255; i++) {
    IPAddress targetIP(192, 168, 1, i);
    udp.beginPacket(targetIP, 9);
    udp.write(0xFF); // Single byte garbage payload
    udp.endPacket();
    delay(5); // Prevent flooding the local network
}

// After a brief delay, read the LwIP ARP table to find discovered MACs
The n8n Middleware
Instead of forcing myself to type out 17-character MAC addresses on my phone, n8n parses Telegram text using Regex. A Resolver branch takes targets like MyPC and dynamically resolves them into hardcoded MAC addresses.
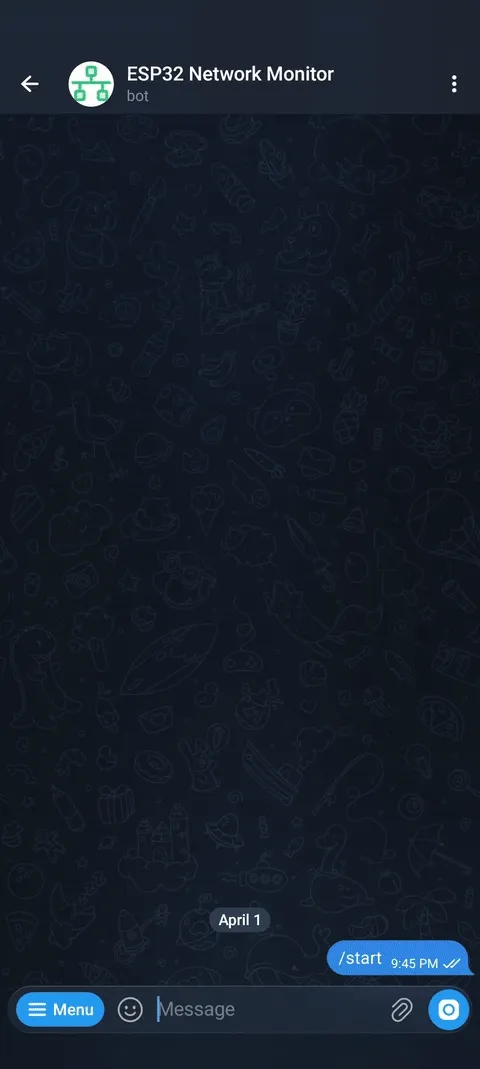 (A quick demo showing the help menu, device list, ping, and presence commands via Telegram)
When a new MAC address is detected, n8n queries api.macvendors.com to identify the manufacturer. Raw MAC addresses (AA:BB:CC) actually break HTTP requests because the colons are reserved characters in URLs. I fixed that by wrapping the payload in a quick JS encodeURIComponent().
// n8n Code Node: Safely encoding the MAC address for the Vendor API
const rawMac = $input.item.json.mac_address;
const encodedMac = encodeURIComponent(rawMac);

return {
  json: {
    mac: rawMac,
    vendor_api_url: `https://api.macvendors.com/${encodedMac}`,
  },
};
State Management via Data Tables
A major limitation when building complex systems in n8n is that global variables are a premium. Workflows are inherently stateless, meaning you cannot natively store and share dynamic variables (like a user toggle for notifications) between different workflow executions without external databases like Redis or Postgres.
To solve this without adding another container to my server, I utilized n8n Data Tables as a lightweight global memory store. I built a global_settings table using a simple Namespace/Key/Value schema.
When a user types /settings network_monitor notify_scan_complete false in Telegram, the workflow updates the Data Table. Later, when the ESP32 finishes a scan and emits the scan_complete MQTT event, n8n pauses, queries this Data Table, and checks the flag before sending a notification. This allows for persistent, cross-workflow state management entirely within n8n.
The Workflow in Action
Troubleshooting and The Wall
Real hardware is messy. Here are the biggest roadblocks I hit and exactly how I fixed them.
1. The 26MHz Crystal Ghost
The first major issue was baffling. The Serial monitor showed garbled text at 115200 baud. I switched to 74880 baud (the bootloader speed) and suddenly I could see logs, but the WiFi was constantly dropping and TLS handshakes with HiveMQ were failing 90% of the time.
It was confirmed that the code was explicitly set to 115200 baud, but the hardware was physically vibrating at a different frequency. Here is exactly what happened:
- Software Command: In my code, I had
Serial.begin(115200);. - Hardware Assumption: The ESP32’s internal math assumes it has a 40MHz “heartbeat” (crystal) to calculate how fast to flip the TX/RX pins.
- The Reality: My specific board has a 26MHz crystal.
- The Result: Because 26 is roughly 65% of 40, the ESP32 did the math for 115200 but ended up flipping the pins at ~65% of that speed.
I fixed this by explicitly telling the compiler about the 26MHz crystal in the platformio.ini file. Once the CPU’s heartbeat was calibrated, the Serial baud rate snapped back to normal, and the TLS encryption became rock solid.
; platformio.ini
[env:esp32dev]
platform = espressif32
board = esp32dev
framework = arduino
build_flags =
    -DCONFIG_ESP32_XTAL_FREQ_26 ; Forces 26MHz crystal math
2. The Rate Limit Crash
Free APIs typically throttle at 2 requests per second. Because the ESP32 streams device discoveries individually via MQTT, finding 5 new devices instantly caused n8n to spin up parallel workflow executions. This triggered a 429 Too Many Requests crash.
Instead of over-engineering a message queue like RabbitMQ, I relied on n8n’s native error handling:
- The Gatekeeper: An
Ifnode filters out the 95% of devices that already have a vendor saved, bypassing the API entirely . - The Retry Fallback: For the rare event where multiple new devices hit the API simultaneously, the HTTP Request node is configured with
retryOnFail: true, a2000mswait time, and a max of 5 tries. Failed requests simply sleep and automatically resolve themselves.
3. WiFi Brownouts
Even with the timing fixed, the device would randomly reset during a network scan. I initially thought it was a memory leak. In reality, it was a power brownout. When the WiFi radio kicks into high gear to send a flurry of packets, it draws a massive current spike that a cheap USB cable cannot handle.
I solved this by reducing the WiFi transmit power and moving from a Static IP to DHCP, which modern routers handle more gracefully during power-on sequences.
// Lowering TX power prevents current spikes during heavy network scanning
WiFi.setTxPower(WIFI_POWER_11dBm);
FAQ
Why stream events instead of sending a single JSON payload?
Secure MQTT (TLS) needs a lot of RAM. I had to carefully manage my JsonDocument sizes to avoid crashing the heap. Streaming individual events (scan_started, device data, scan_complete) keeps the memory footprint lean and allows the UI to remain responsive.
How do you handle presence detection for sleeping phones?
Active scanning is not enough for mobile devices. I moved the “Are they home?” logic entirely to n8n. n8n triggers the ESP32 to scan silently every 10 minutes and simply updates a last_seen timestamp in a database. When I request /presence, a JS Code node groups devices by owner. If any of an owner’s devices have been seen within the last 60 minutes, the person is marked as 🟢 HOME.